
Coral’s Tiny World IRL, creating a market booth that helps my art find its people
It’s been so helpful building out my art market set up slowly, rather than going all in at once. I have had time to experiment along the way and now I’m ready to share some of my results and art market essentials!
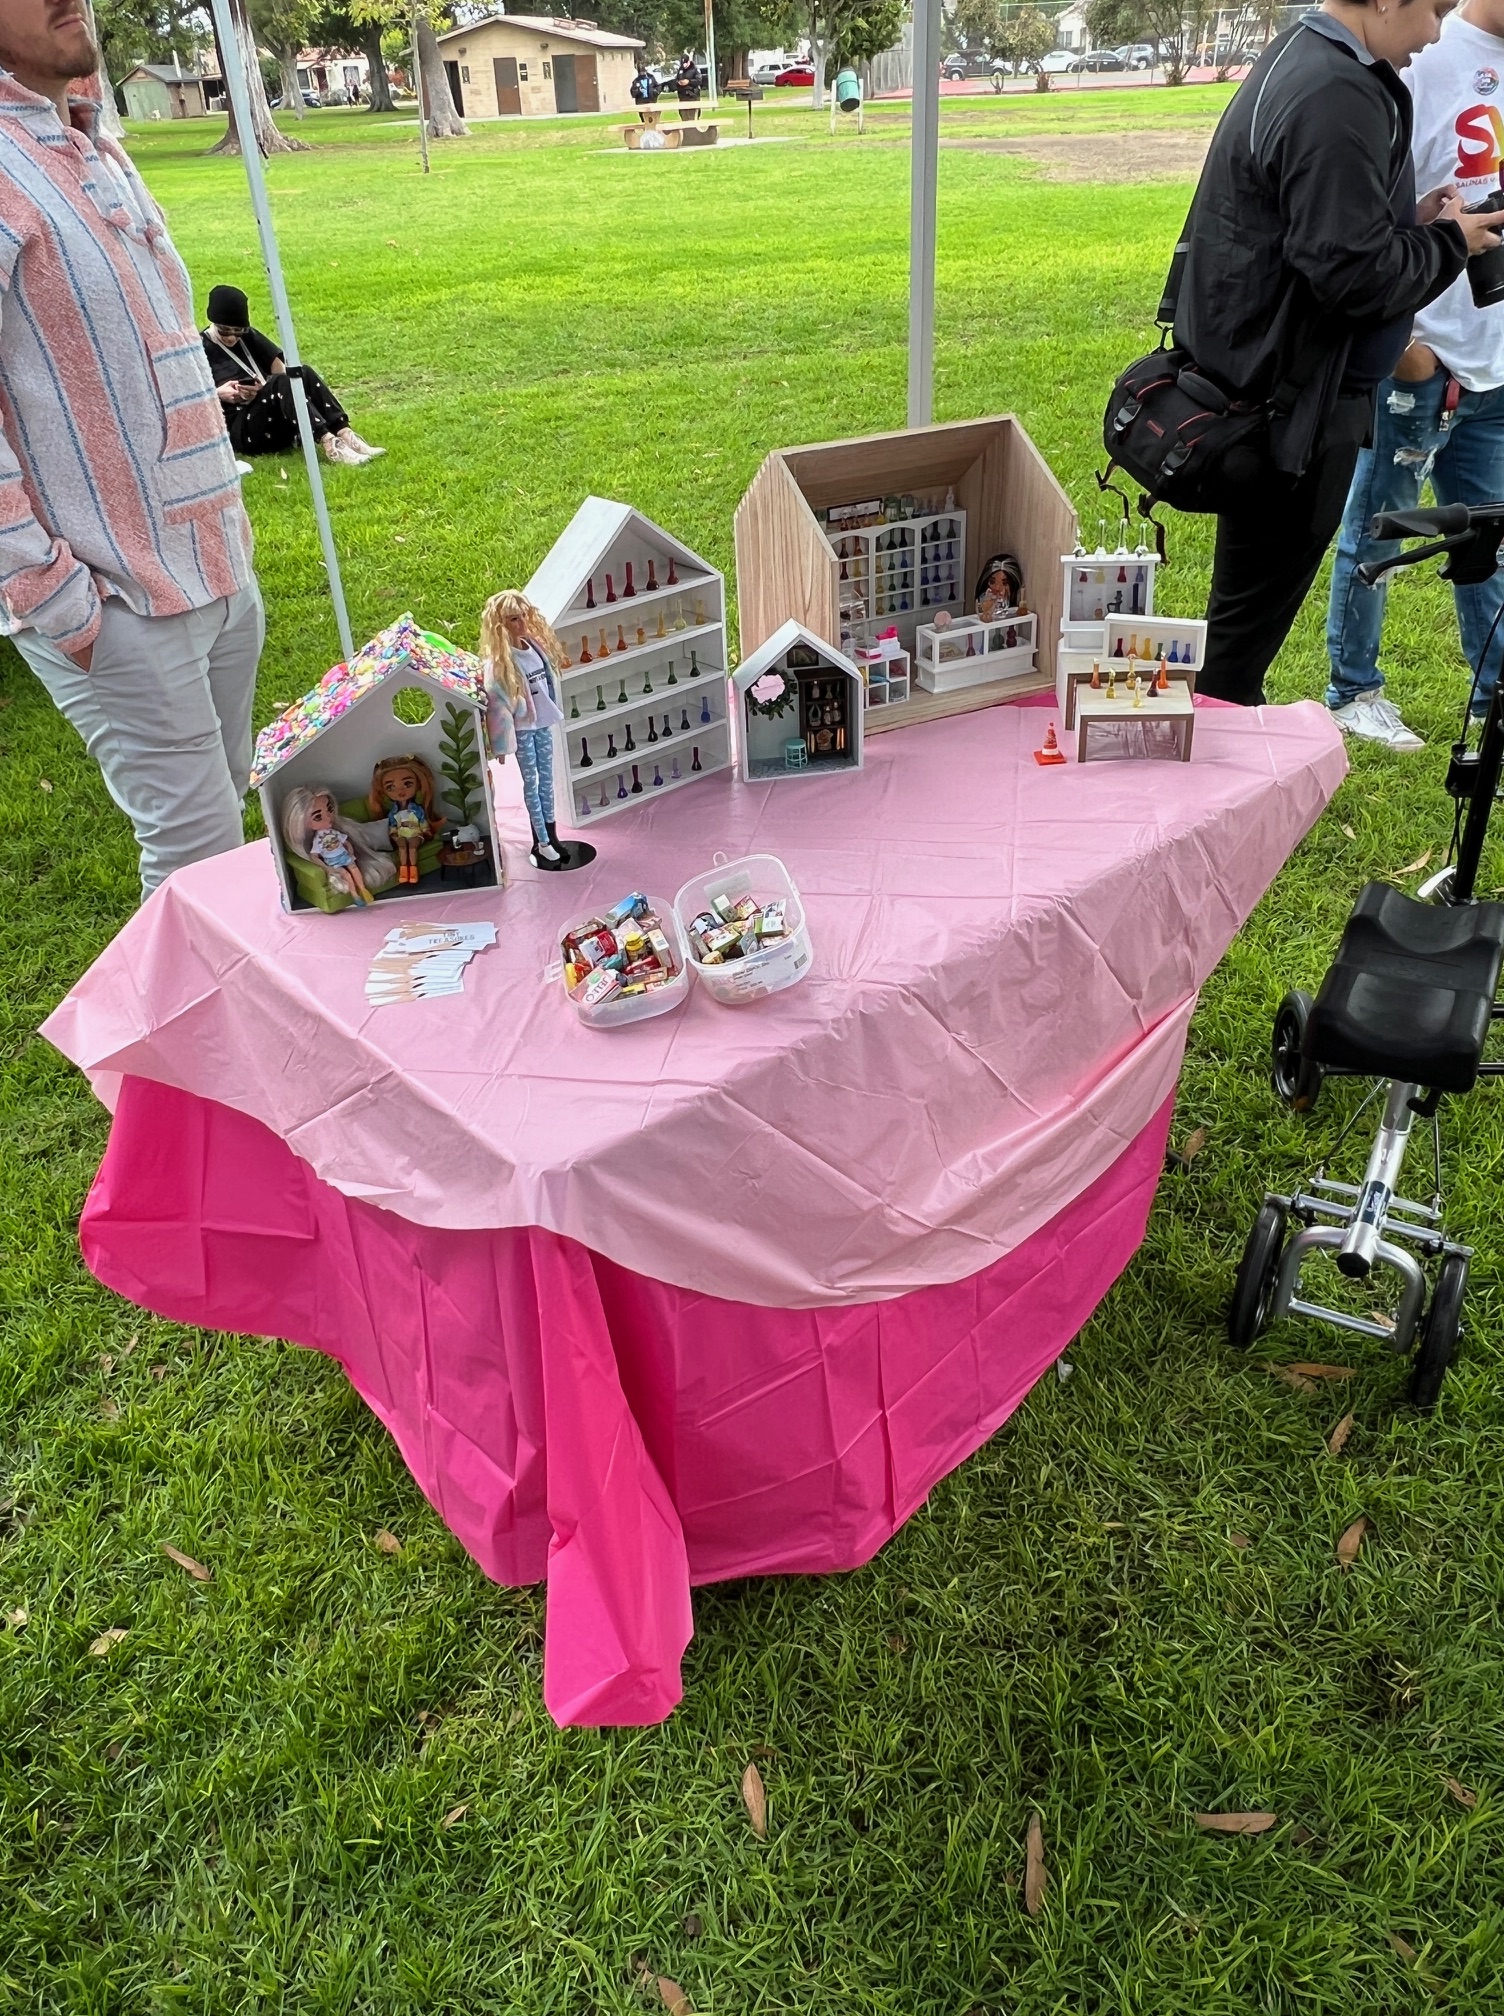

The Beginning
My early booth set ups for Coral’s Tiny World were… not great. Good intentions maybe, but not a lot of sidewalk appeal or context for new shoppers. Over the past 3 years I’ve been carefully filtering feedback and making adjustments, swapping out the sales duds for more engaging displays and styling my booth into a memorable experience for my shoppers.
First, I had to realize that my best sellers online aren’t necessarily going to be my best sellers at markets. Instead of fighting that, I’ve leaned into it, and been thankful to have an opportunity expand my creative outputs! My early booths were focused on my glass work, but the prints of my Stoney doll scenes sold best time and time again.

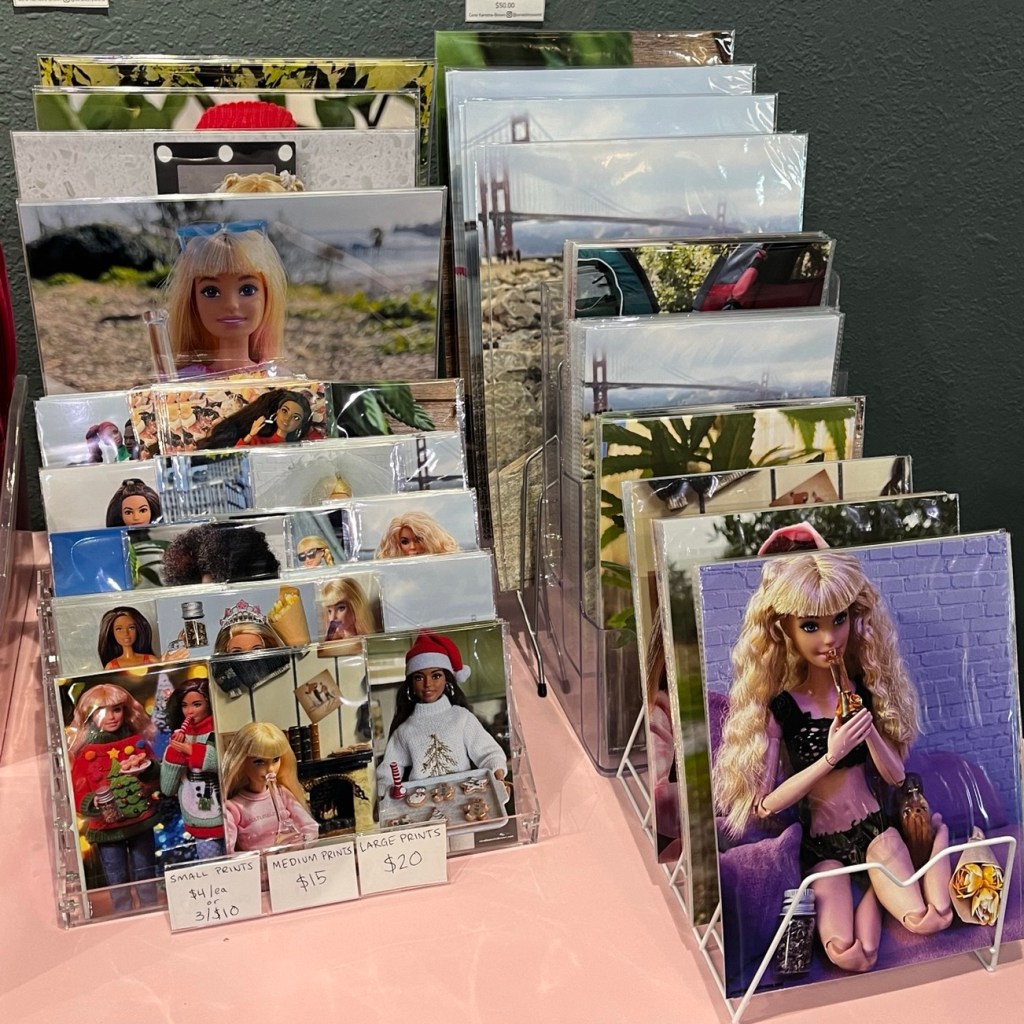
Budget Friendly Displays
I scoured thrift shops for desktop file organizers of all sizes. The best ones have a high back wall to support the prints, and are at a bit of a vertical angle so that each design peeks out. Smaller card organizers and business card displays are also pretty easily found at thrift shops and can be great to feature stickers. I even found a gorgeous acrylic display for my miniature glass secondhand!


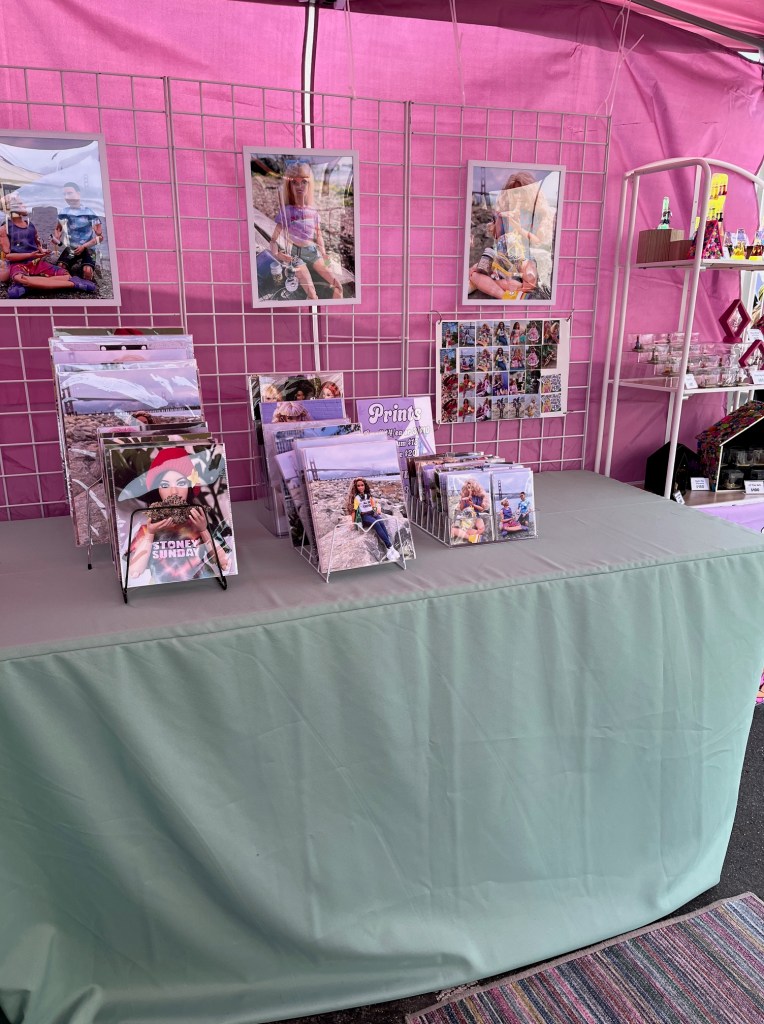
Pretty but Pricey
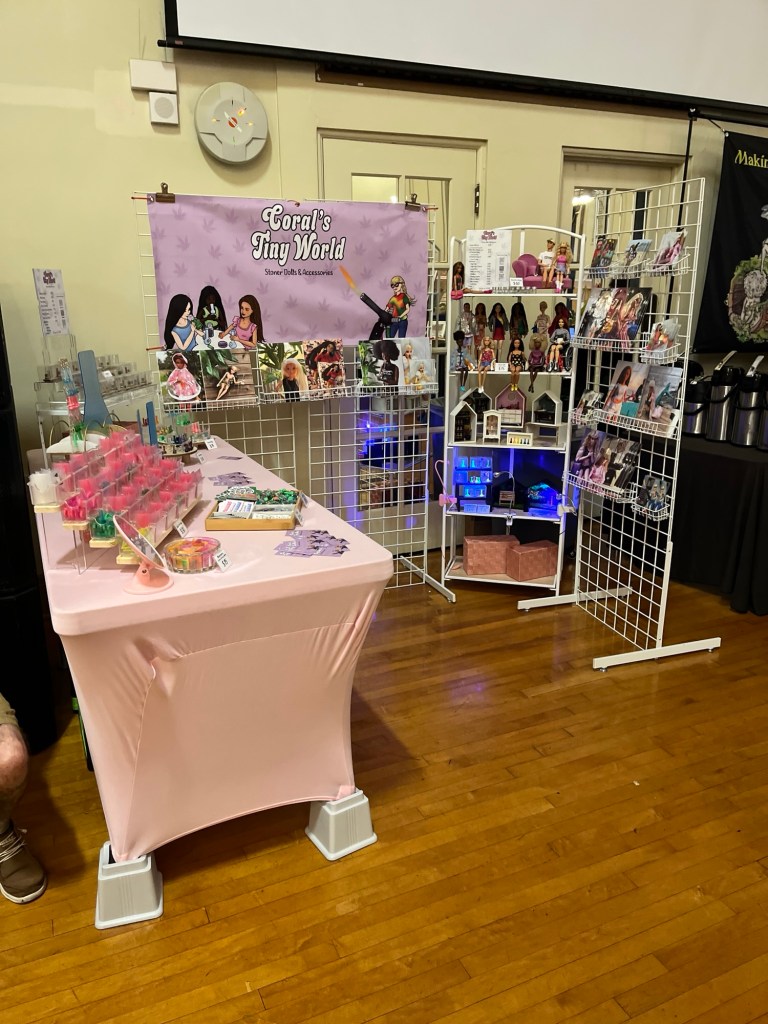
Height and clear signage aren’t groundbreaking recommendations, and they’re as effective as you’ve probably already been told! Investing in tall, sturdy gridwalls has been worth it, they weren’t cheap but we’ve made use of them nearly every market set up since purchasing. My gridwalls came with bases so they are freestanding, but they’re also a bit of a tripping hazard. Aligning them together behind my table has prevented tripping, and if I am using a pop up tent they can be used without bases at all by suspending and securing them from the tent walls directly. Just be sure your tent is weighted down in all corners of course!
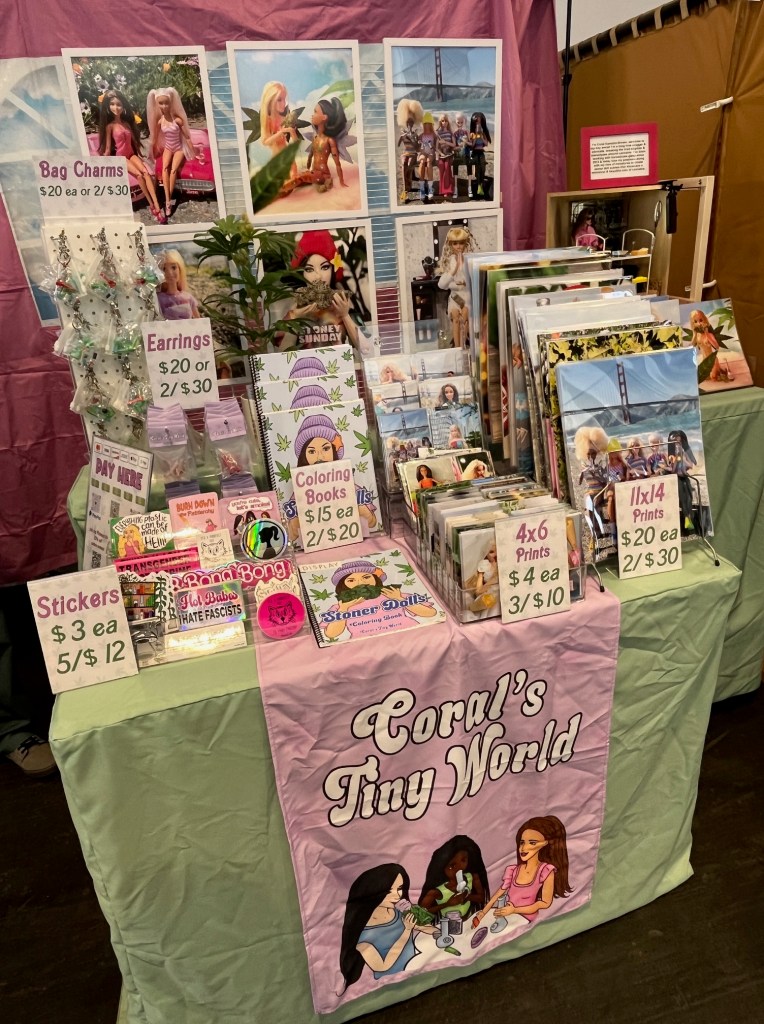
Your signage is more than just your shop’s name and item pricing, it’s a hello to the world. I like a brief and friendly vibe, and I’ve been using two custom printed matching banners for my market booth. One is vinyl and weather proof, I generally hang it high, and the other is a printed fabric table runner that I place near the checkout area of my booth.
For pricing, the best is to have every. single. item. clearly priced, or at the very least a large price sheet in each section. I’ve also found it really helpful to include a bit of info on WHAT your customers are looking at, labels like keychains or magnets or earrings and even examples showing how items are used or styled. I’m lucky I married a graphic designer, we’ve been able to collaborate and create cute signs that answer most of my customers questions quickly so they can get to shopping my stuff!
Tents, Tablecloths, What Colors to Use?
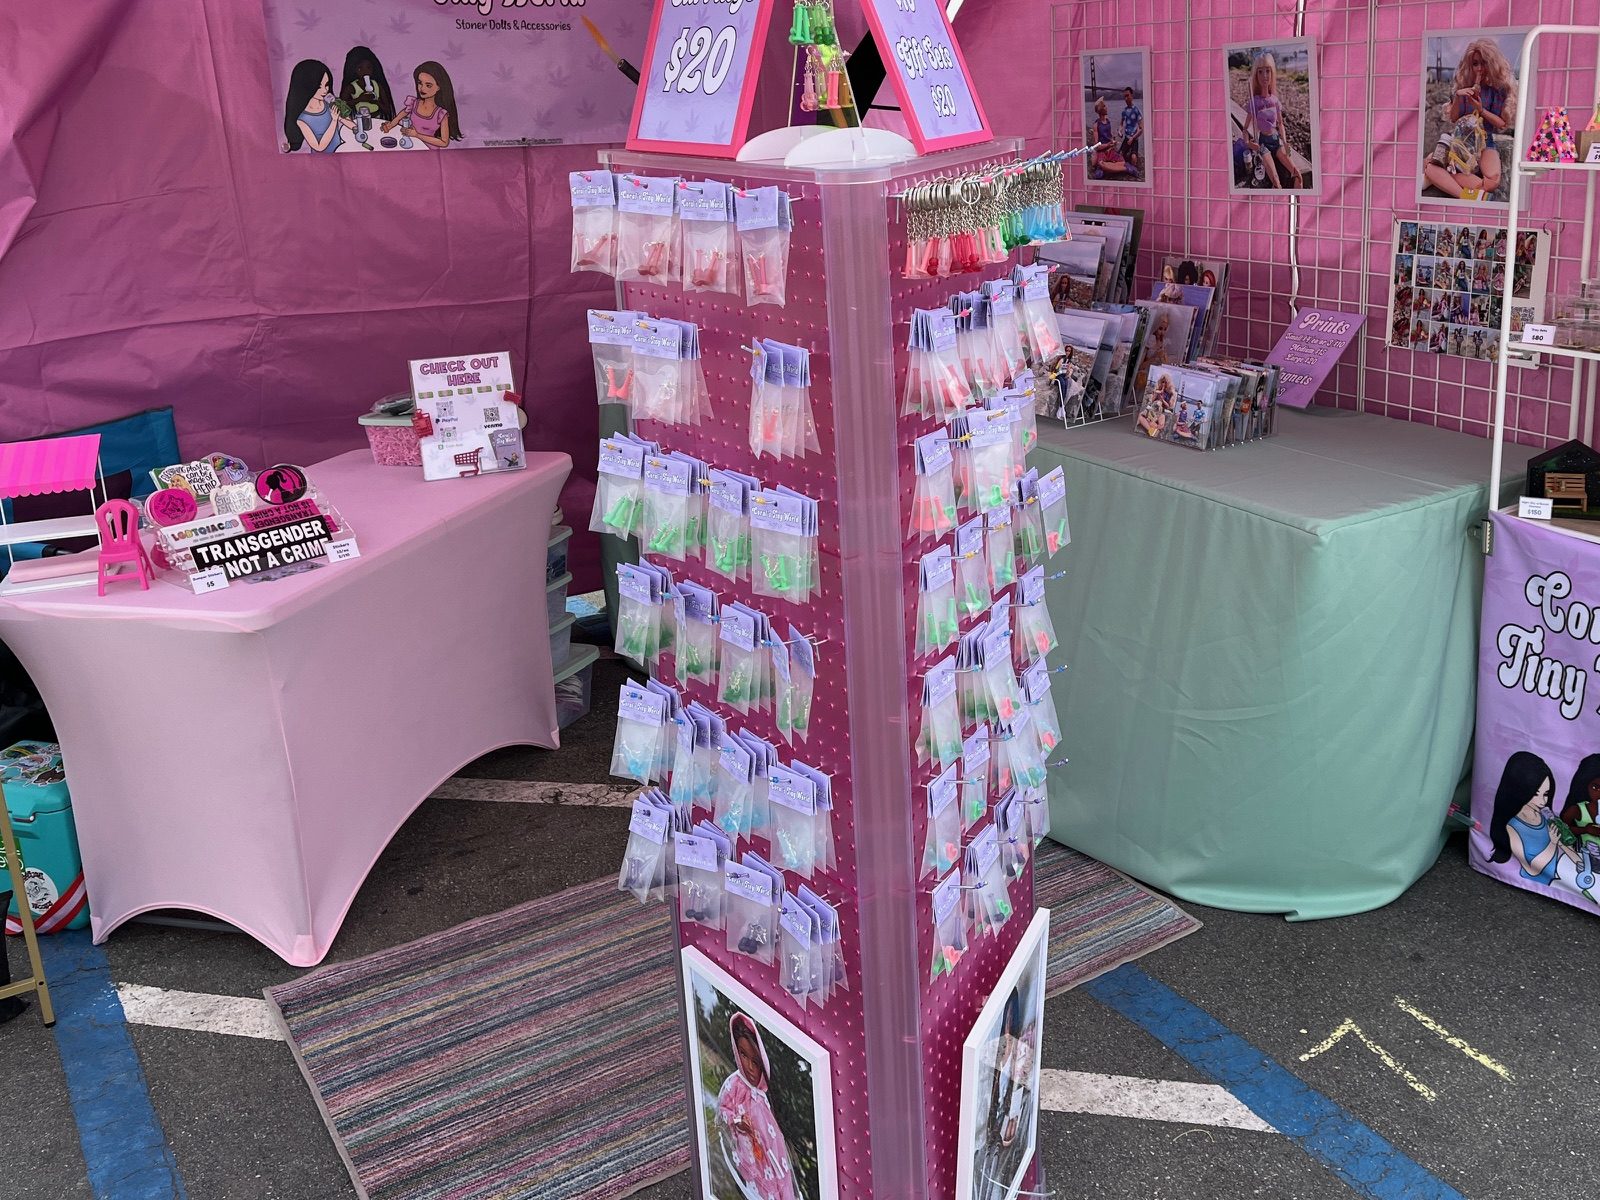
Tablecloths and tents… They both have put me through the wringer but I’m finally happy with what we have. My pink tent has become my signature, but our first one broke the first time we used it and the current one is getting pretty beaten up after about two years of use. I’ll probably try to repair and get a few more uses from it before replacing. I love the “dollhouse” style walls of my pop up tent, when I have no neighbors we leave the windows clear for light and views but when I’m next to a wall or another vendor a draped cloud backdrop creates a lovely false view.
Refillable sandbag tent weights are absolutely a must, and help sturdy up the tent. The light pink elastic footed tablecloths looked absurd with the table risers we use, so I replaced them with long light green ones, and I clip any excess fabric out of the way. I also love how the green compliments the pink but isn’t matching, I was starting to drown in shades of pink and repel some potential customers. Bringing in the greens and lavenders makes my market booth a lot more approachable while still being bright and my own personal style.

Moving Parts, Dynamic Displays
Finally, my three newest additions and favorites to stim with at markets, the spinning displays. I feel so official with a spinning display! I started with a small desktop option for my keychains and earrings, and then added a huge one that’s 5 feet tall! The standing display is perfect at the outermost part of my booth, each side covered in top selling minis and framed prints that catch eyes and introduce shoppers to my art. A standing card displays works for greeting cards and my smallest prints, I found one that is fairly light and very easy to set up and break down again.

What’s Next for my Tiny World?
In the future I’d love to find a way to incorporate a photo spot with stoney accessories to encourage more shoppers to find and tag me on social media!
I’m so proud of my current market booth set up, it evolves with me and each event I attend, and can be configured into so many different footprints! Take a closer look at my current market set up in this Spring 2025 booth tour video.
Do you have a favorite market or festival you want to see me set up at? I’m taking suggestions and sharing event dates here.
